Friday, June 27, 2014

Cricut Friday


Hello Everyone.  Hope you are having a great day and preparing for a joyous weekend. Well today I pulled out the Cricut Expression along with some other items: watercolor paper; distress inks; Art Philosophy (p.41) and Artbooking (p.50) Cricut cartridges; glue; pop dots; decorative paper; and my imagination.
What do you think you will get when you combine all of the
following items together to make a card?


Using the watercolor paper, I cut butterflies from the Art Philosophy cartridge and then used a  blue sheet of cardstock to cut the overlay from the Artbooking cartridge.
Next, Distress Ink was used on the butterflies to match the decorative paper.


So what do you get  with all the combined items?
"A Thinking of You Card" for someone special on your list.


Thanks for viewing and have a wonderful day.
Lois


Thursday, June 26, 2014

Celebrate the Fourth - Tri-Shutter Card!

Happy day to all!
If you have ever visited other blogs on the web or Pinterest, you have probably seen several gorgeous "Tri-Shutter Cards".  So, if you are like me, "How do you make one of these?" Today, I'll show you how easy and fun it is to make one of these unique shaped cards! 
Basic supplies you will need:
     Martha Stewart scoring board , or any other scoring tool;
     A paper cutter or craft knife and ruler;
     A 12 x 12 piece of cardstock, cut down to 12 x 5-1/2;
     Embellishments of your choice:

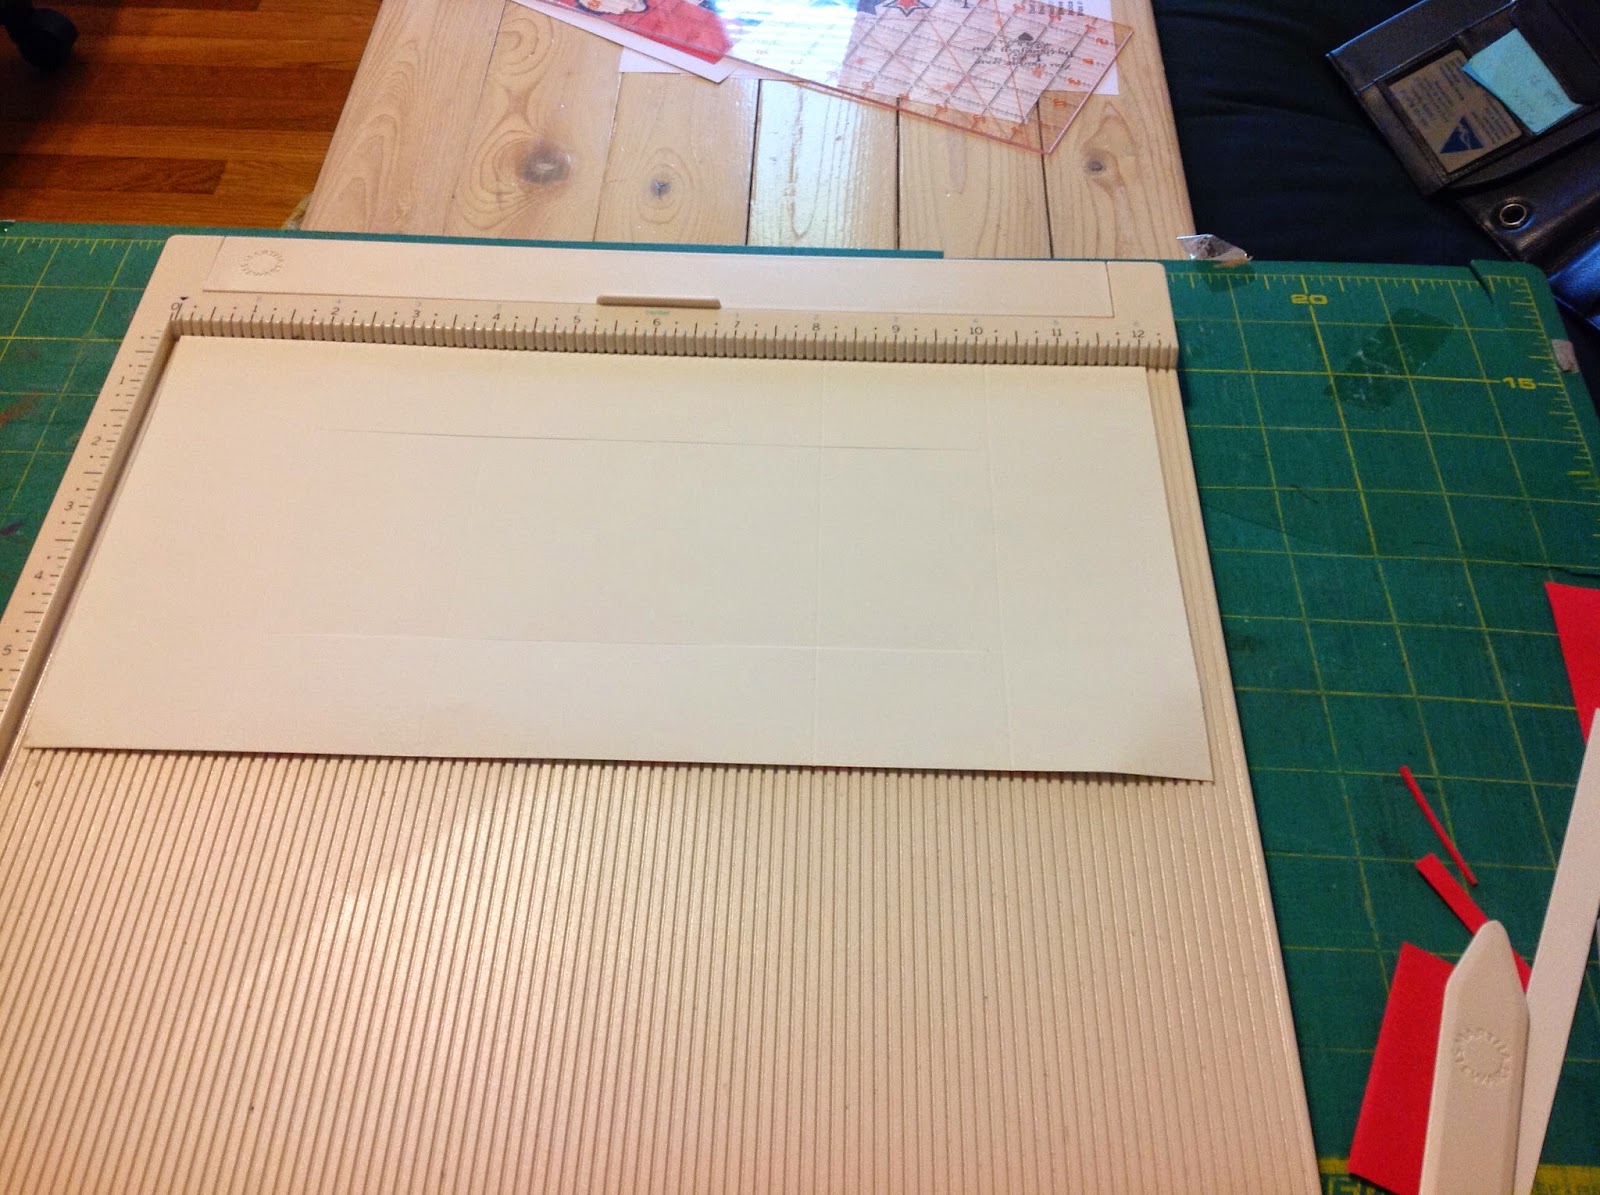
Step One: Cut your 12 x12 to 5-1/2. Place the 12inch side horizontally on the scoring board.


Step Two: Using your scoring tool, score at 2 inch, 4 inch, 8 inch and 10 inch (in the red)


 Step Three: Turn the cardstock vertically.  Using a craft knife and ruler (or paper cutter), measure 1-1/2 inches from the edge, and make a vertical cut from the 2 inch score line to the 10 inch scoreline.  Do this on both sides (in the green).


Step Four: Fold the scored sections as you see in this photo.
Once your card base is scored, cut, and folded, you are ready to decorate the panels.
I used red for my mat and here is what it looks like.
Here is what it looks like with the design paper.
This is what the card looks like closed.
I hope you enjoyed the tutorial.  If I skipped any steps or instructions, feel free to email me at bu4jazt@gmail.com.  Please give this technique a try.  It is much more simple than it appears.  The hard part is figuring out how to decorate it.

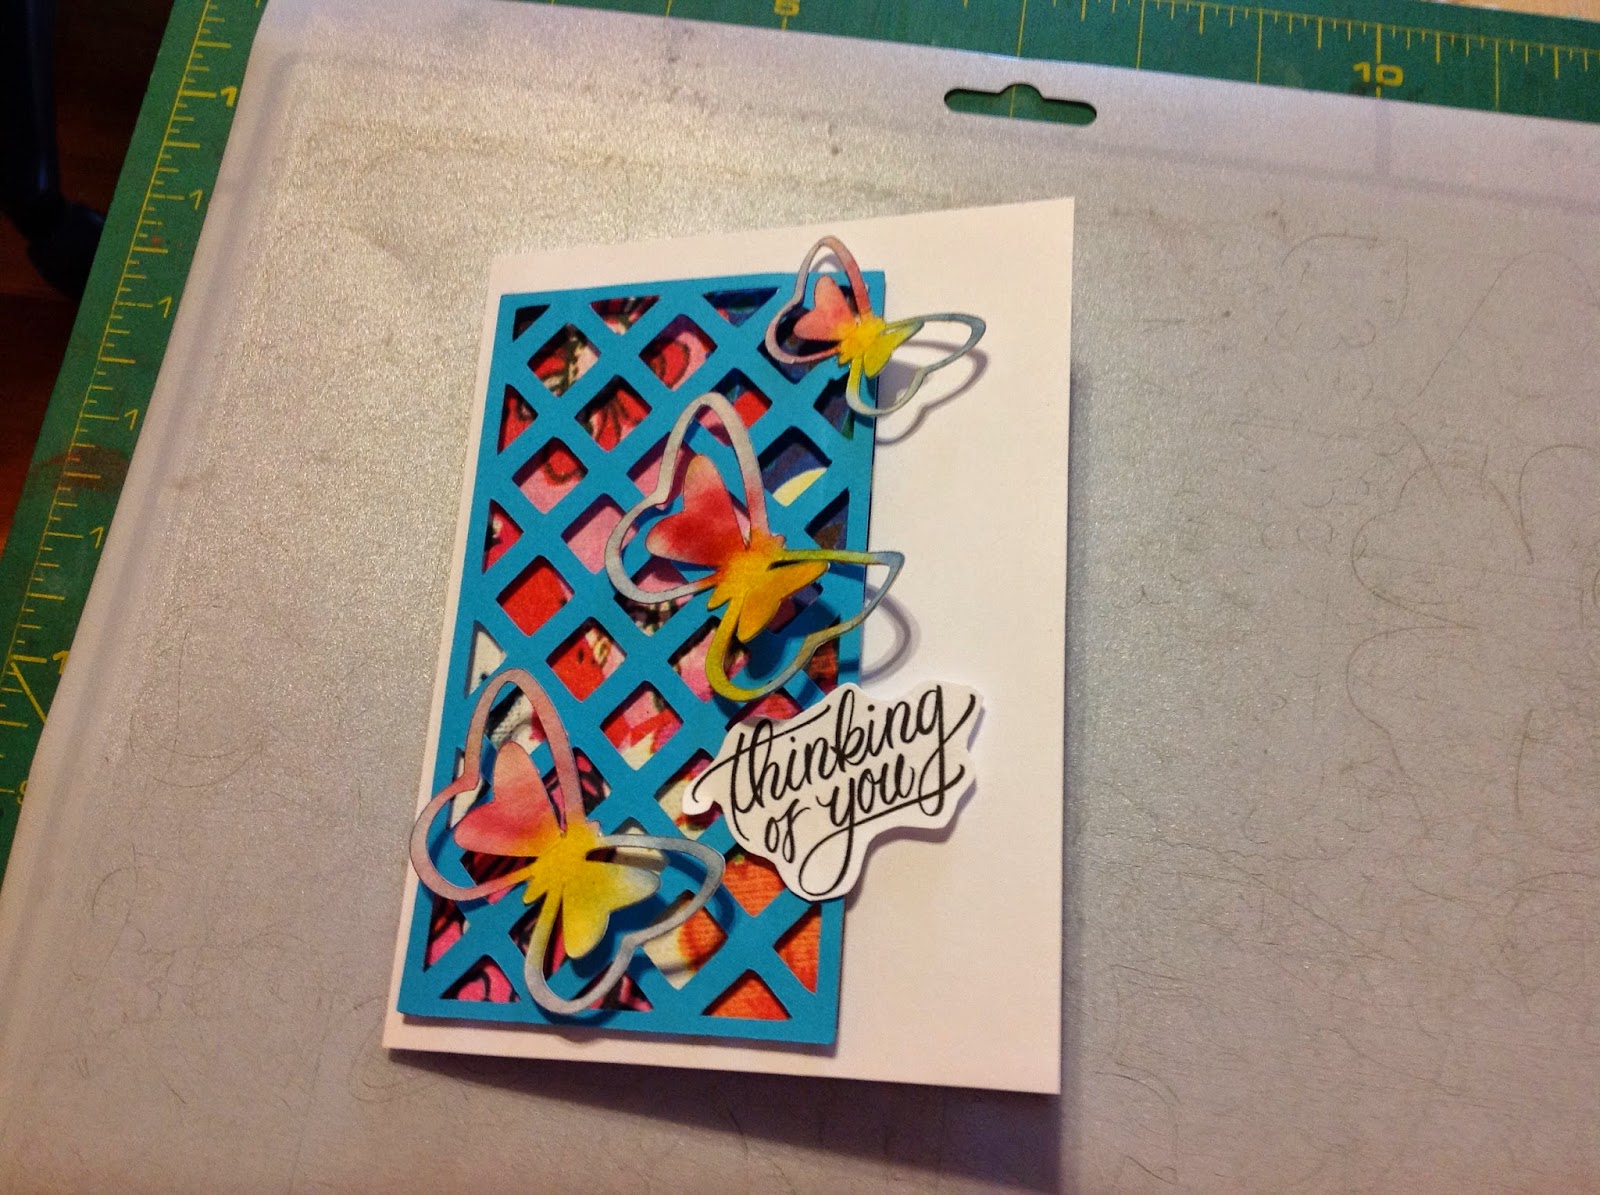
Here is another Tri-Shutter Card I made:
Thanks for visiting with me today!
Have a very blessed day!!
Lois


Wednesday, June 25, 2014

Sym-pa-thiz-ing

Good Morning to All
My heart is heavy and has been for a couple of days because one of our church members passed away unexpected.  I will remember the gentle, humble spirit he displayed toward everyone he came in contact  with at the church and in the community.
This card was made for his family using the following supplies:
       GP white cardstock
       birdcage die from Sizzix Tim Holtz Alterations
       Spellbinders lacey circle  and Spellbinders M-bossabilities folder
       replica of wings cutout using silver cardstock


Tuesday, June 24, 2014

Encouragement To Myself

Well Here I Am...into the great unknown of blogging.  I was hesitant about doing this because I didn't think I would have enough to say or do daily.  With a lot of encouragement from friends and family and still with much pondering...off I go!
Here is a card I made with a sentiment that fits this very day...if it is not for me, then God will close this door and open up something else.