
Hope your day is happy and you are feeling great. The weather here will be hot, humid and stormy in the late afternoon. I love everything that God does because He has a reason for doing what he does. I'm a little jittery when He sends thunder and lightning. What about you?
I showed a variety of cards in a box on yesterday and today I would like to go through the steps with you.
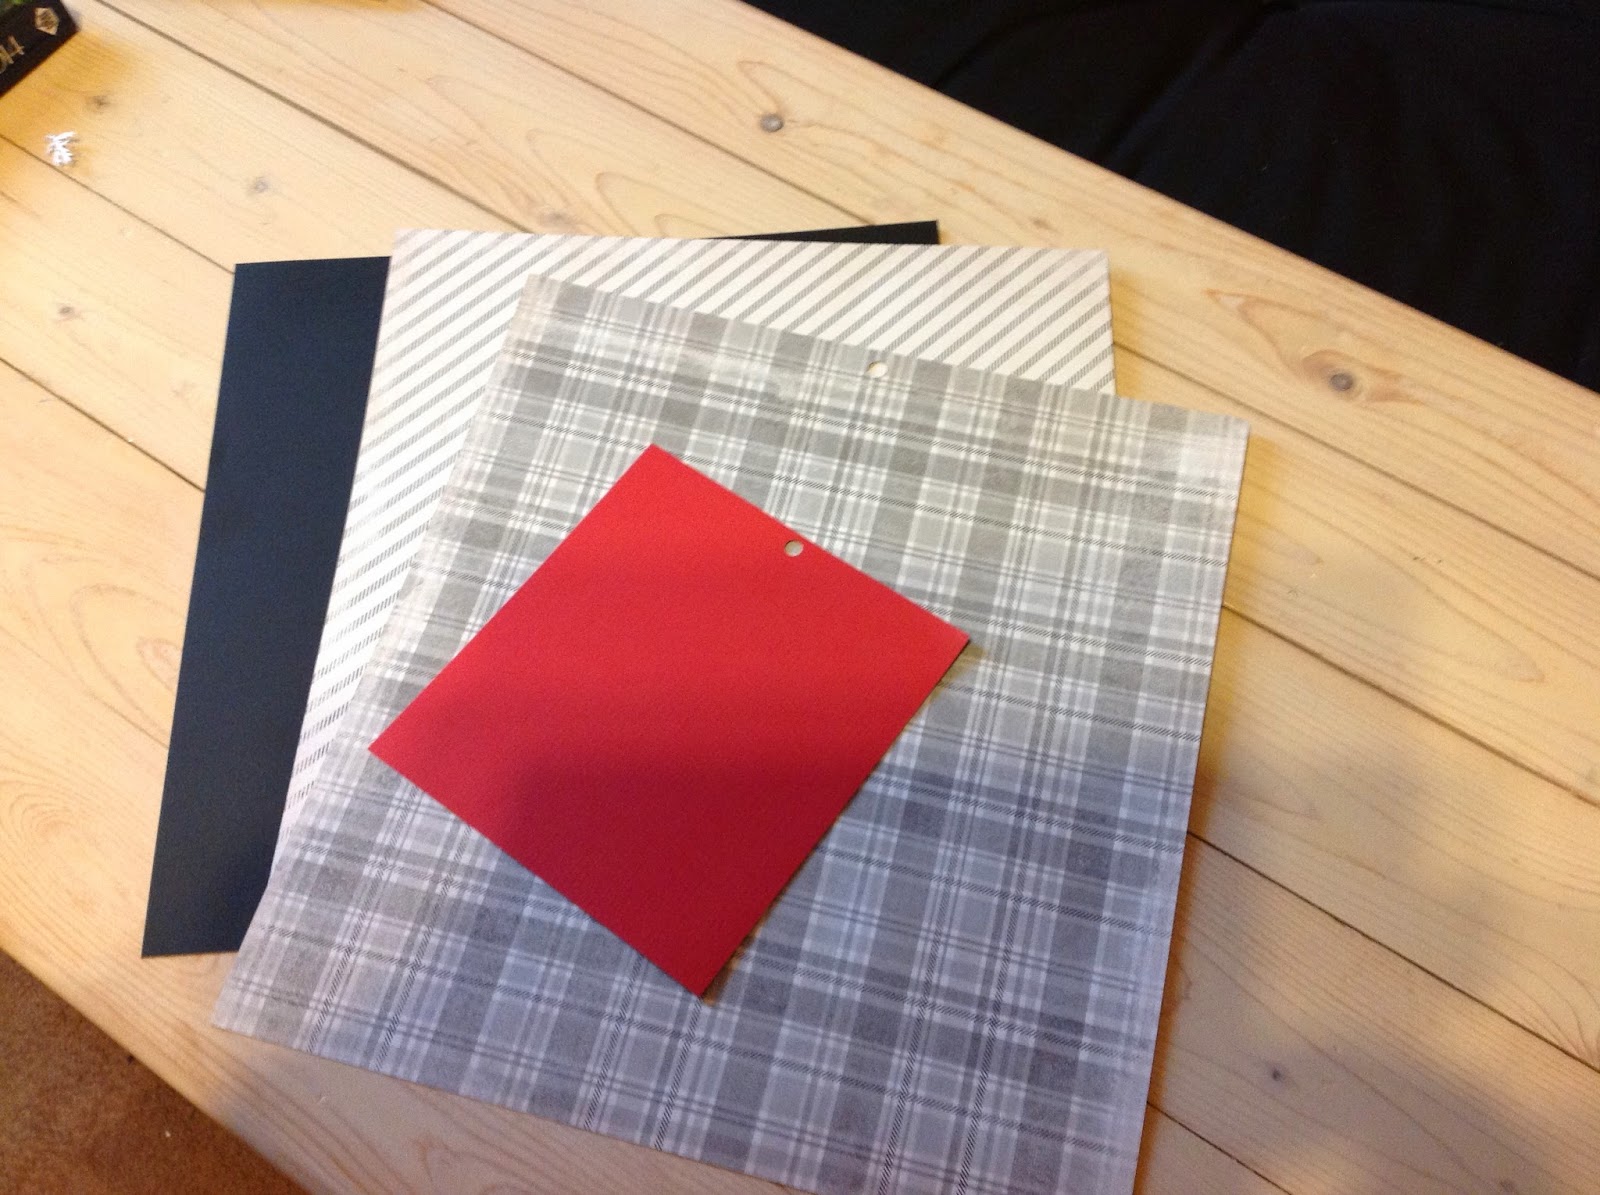 |
Gather material: Cardstock 12 by 12, designer paper, scoreboard and paper cutter. Cut 12 by 12 cardstock down to 8 1/2 by 12. Cut 12 by 12 cardstock down to 8 1/2 by 12.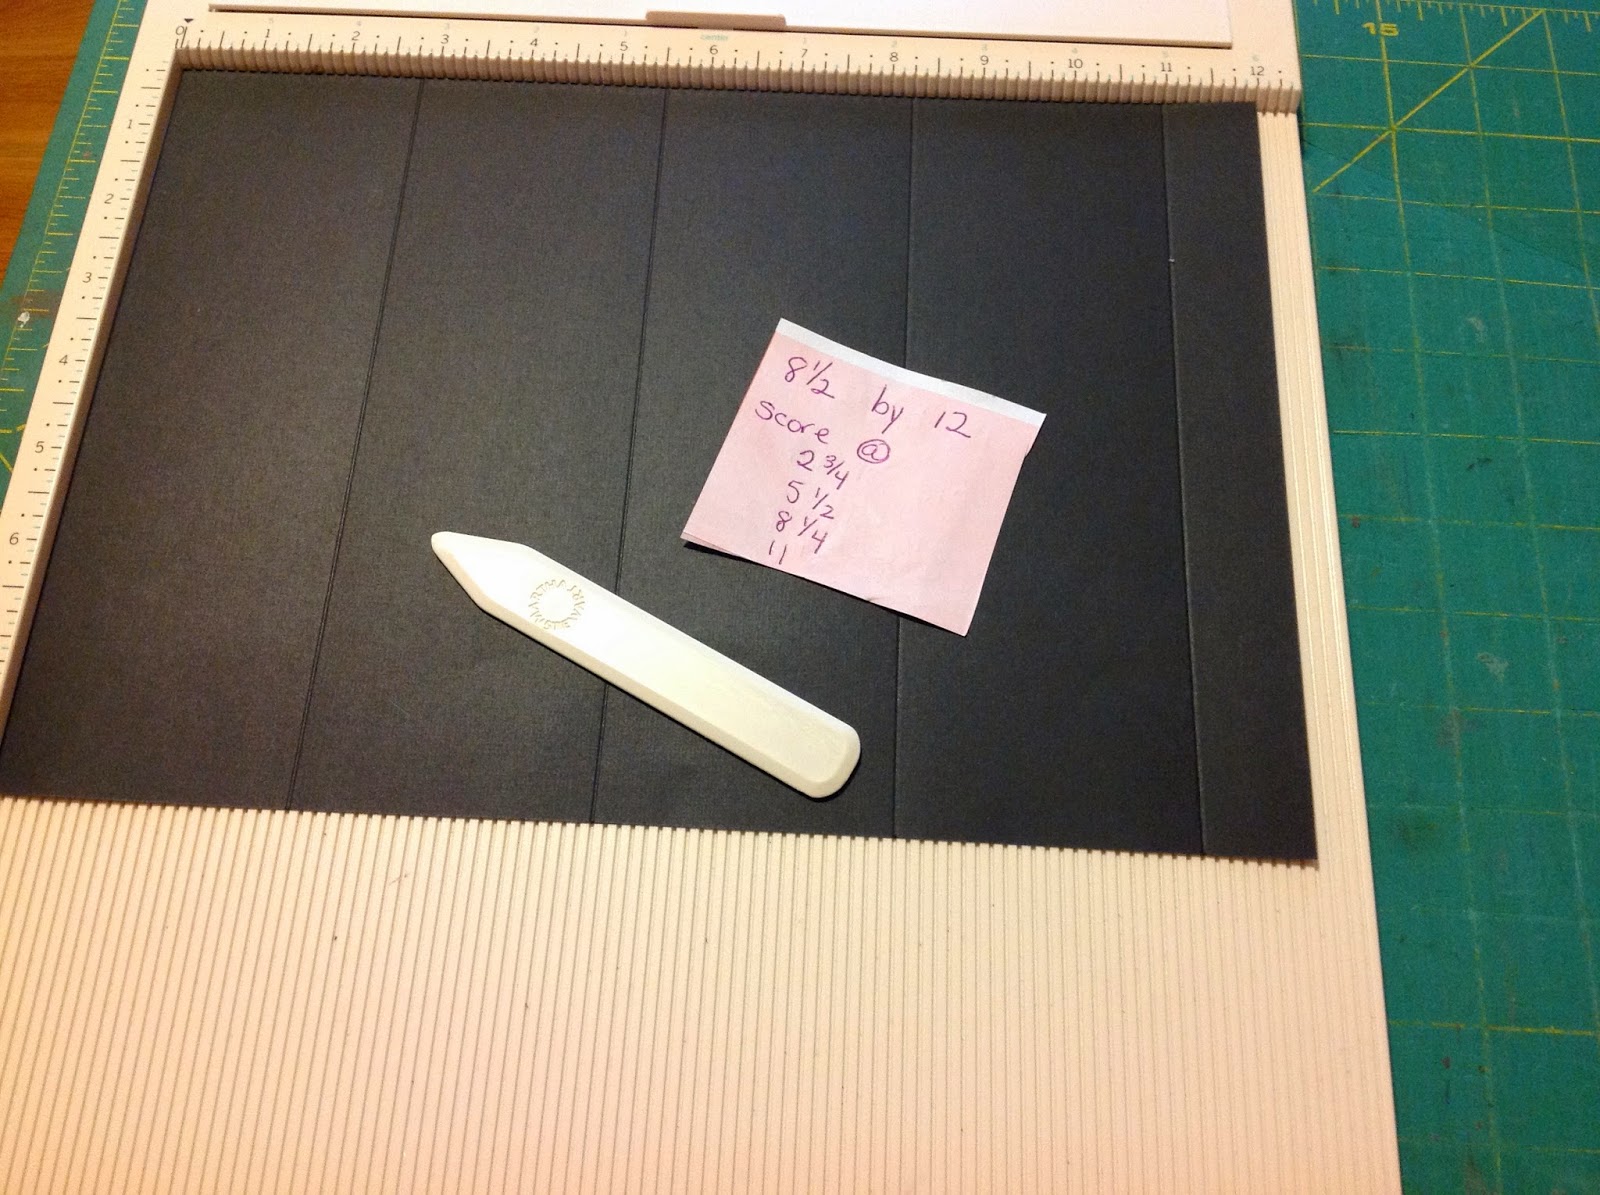 Score on long side at 2 3/4, 5 1/2, 8 1/4 and 11 Score on long side at 2 3/4, 5 1/2, 8 1/4 and 11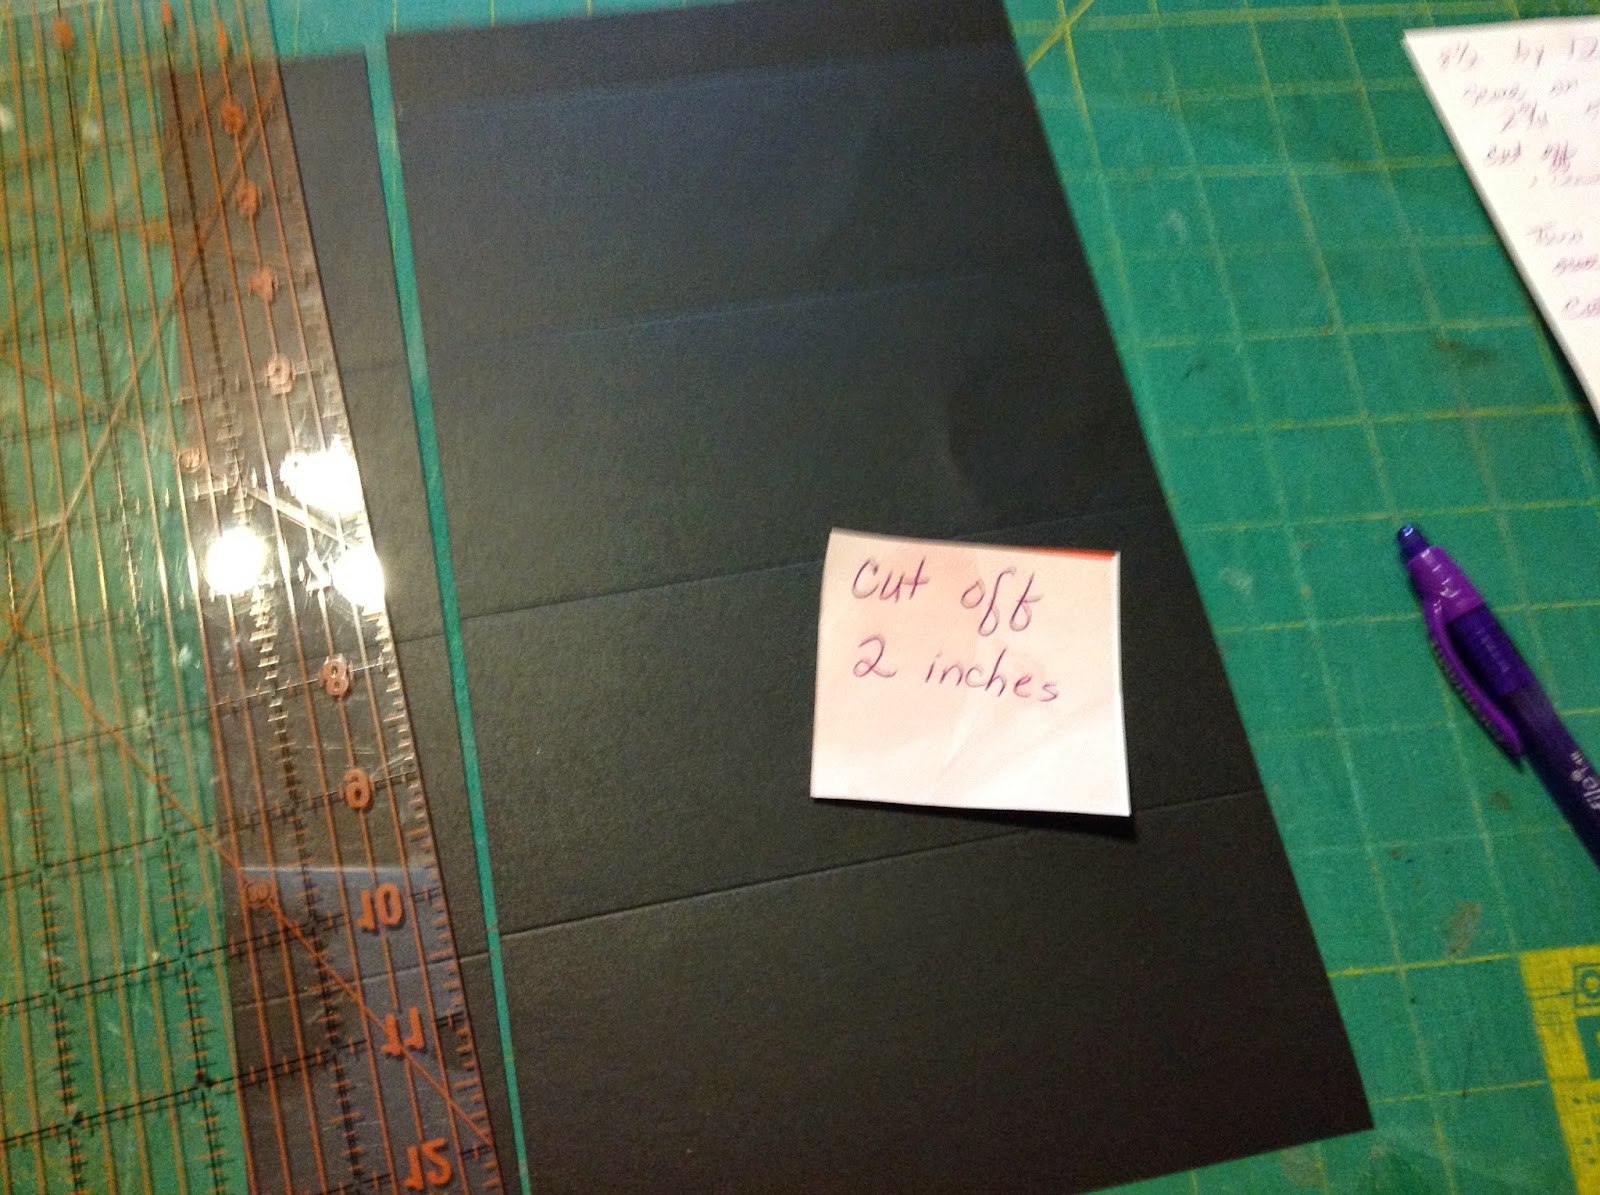 Cut off 2 inches. Do not throw this away it will be used for the inserts. Cut off 2 inches. Do not throw this away it will be used for the inserts. Now you have a 6 1/2 by 12 in piece turned to the short side and scored at 2 3/4 Now you have a 6 1/2 by 12 in piece turned to the short side and scored at 2 3/4 Cut the scored lines on the short side of the cardstock as shown in the picture. On the 1/2 inch line (on the right) cut off this line at an angle (refer to picture). Cut the scored lines on the short side of the cardstock as shown in the picture. On the 1/2 inch line (on the right) cut off this line at an angle (refer to picture). Take the 2 inch strip and place the short end on the 4 3/4 line on your cutter and cut. Take the 2 inch strip and place the short end on the 4 3/4 line on your cutter and cut. 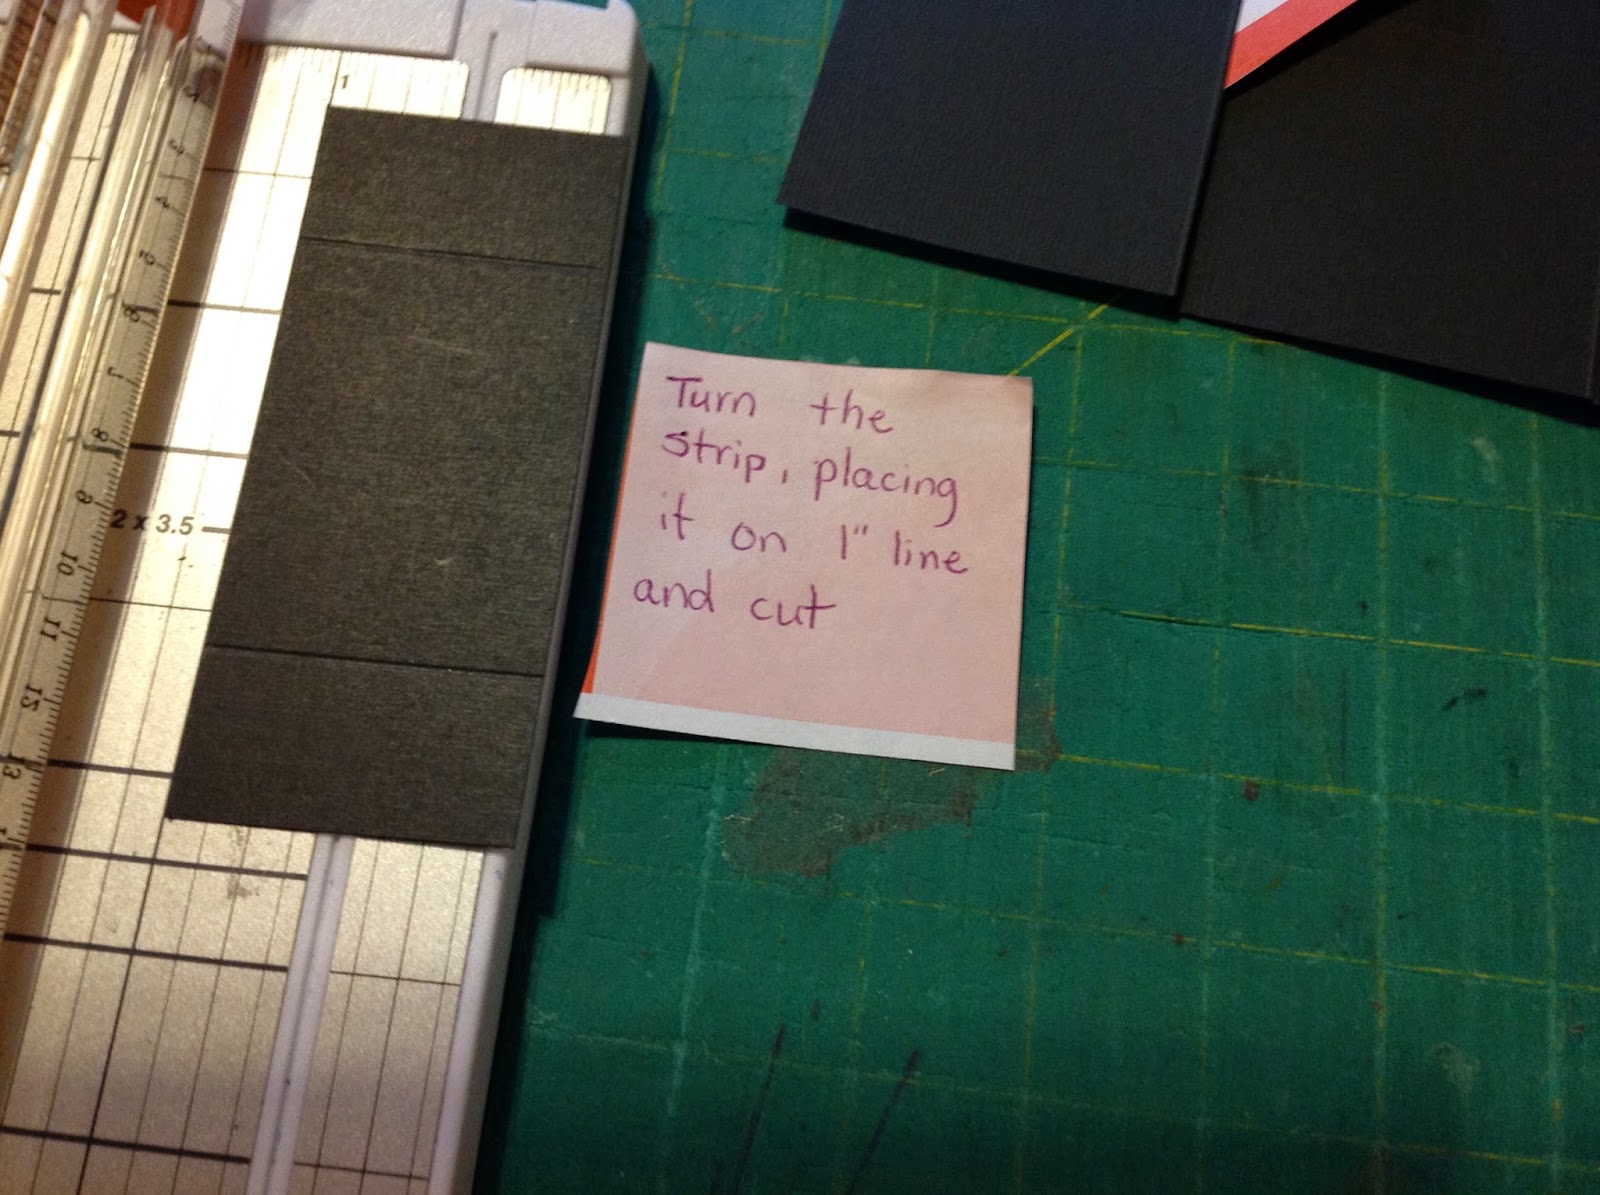 Turn the strip around and place it on the 1 inch line and cut. You will now have 2 pieces for your inserts that will go inside the box. Turn the strip around and place it on the 1 inch line and cut. You will now have 2 pieces for your inserts that will go inside the box. Here is what all three pieces should look like at this point. Here is what all three pieces should look like at this point.  Add score tape to the pieces as shown in the picture. Add score tape to the pieces as shown in the picture. I like to add the designer paper before putting the box together. Here, I cut 3 pieces @ 2 5/8 by 3 1/2 and 1piece @ 2 5/8 by 6 3/8 and glued them in place. I like to add the designer paper before putting the box together. Here, I cut 3 pieces @ 2 5/8 by 3 1/2 and 1piece @ 2 5/8 by 6 3/8 and glued them in place. Turning the box over, I cut designer paper for the flaps: 3 pieces at 2 5/8 by Turning the box over, I cut designer paper for the flaps: 3 pieces at 2 5/8 by
2 5/8 and 1 piece at 2 5/8 by 6 3/8 and glued those in place.

The box has been folded on the score lines and assembled by removing the score tape. You are now ready to put the inserts inside the box. Notice the directions of the inserts in the above picture. This will be the direction of each insert. Remove the score tape and insert into the box. These inserts will allow you to attach things to them to pop up out of the box.
 Here is my box with the inserts, and the designer paper. Here is my box with the inserts, and the designer paper.
I will stop here because I don't know as of yet what I will use for pop ups.
I hope you did learn something with the instructions today.
Here are more boxes that I had made in the past:
   
Thank you for viewing today. If you still have questions don't forget to email me.
Love You,
Lois
|
No comments:
Post a Comment