
Happy Monday! Did you survive the weekend with the cold weather?
This is what I thought of doing:
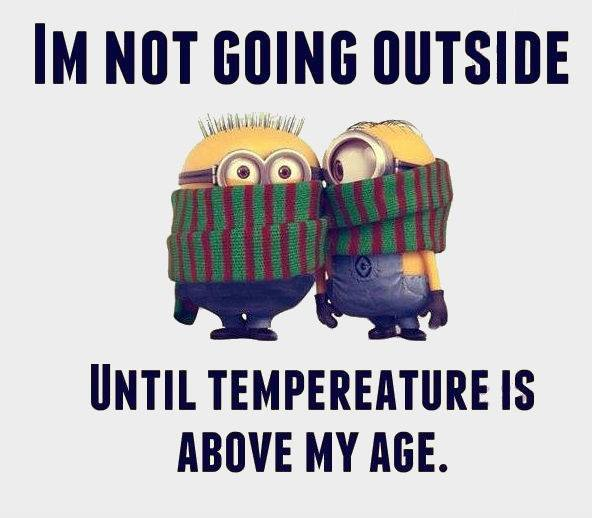
If I did this I would have to wait until this Spring or maybe, just maybe, this Summer…Go ahead, have yourself a goooood Monday laugh.
I just don’t want life to go on without me. I bundled up and ventured out and I have to say I really enjoyed myself. Good fellowship with other adult individuals.
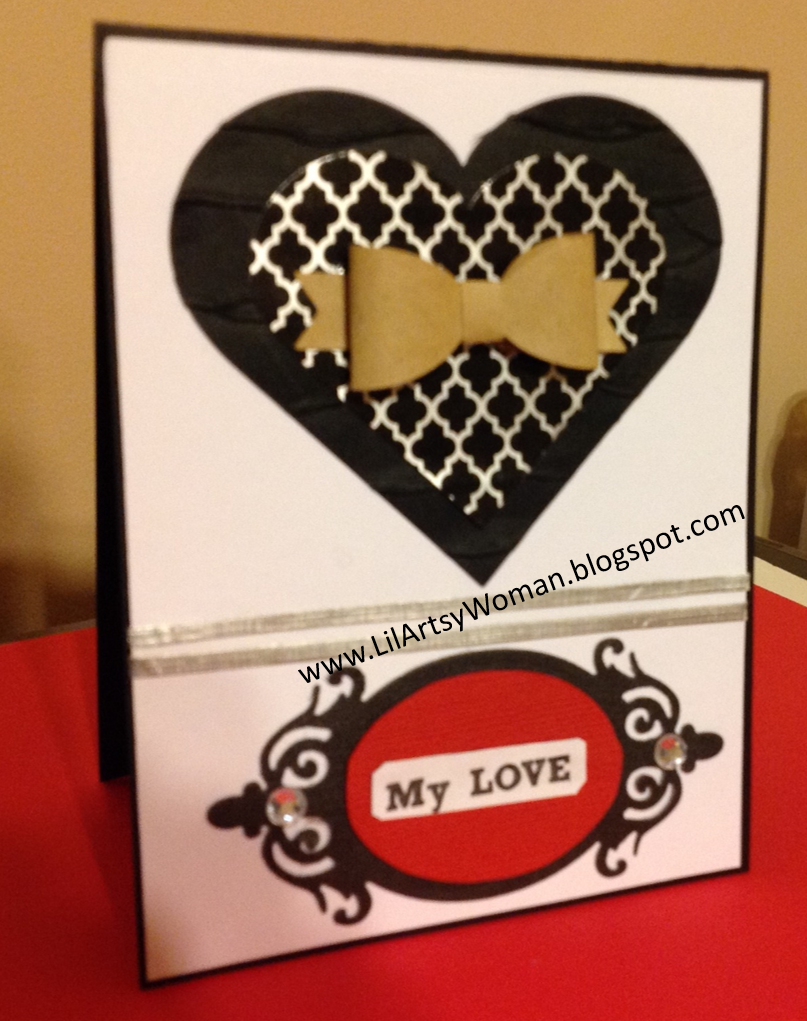
Today, I want to share with you something I call “f aux laser cut card”:
Supplies I used:
Paper trimmer...Cricut Expression...Spellbinder's heart die
1st Card, Artfully Sent cartridge page 4 (icon Smile) and page 31 (sleeve/shift)
White cardstock ...Pop dots...Fiskars corner rounder...Pattern paper...bling
The first thing I did: Used the Cricut Expression along with Artfully Sent cartridge to cut out the "sleeve" (shift) on page 31 and the icon "Smile" from page 4.

white cardstock was use along with settings provided by Cricut.
Next, using a layer for the top of the card (cut smaller than the base), I die cut a heart in the center of the layer and then adhere the cut to the card layer using pop dots. (The laser cut was cut to size for the inside of the heart.


I used the corner die on two ends (opposite of each other), and then adhered the layer to the top of the card. Last, glue the word "Smile" to the top of the heart and add "bling". Finish the inside with pattern paper to match the front.


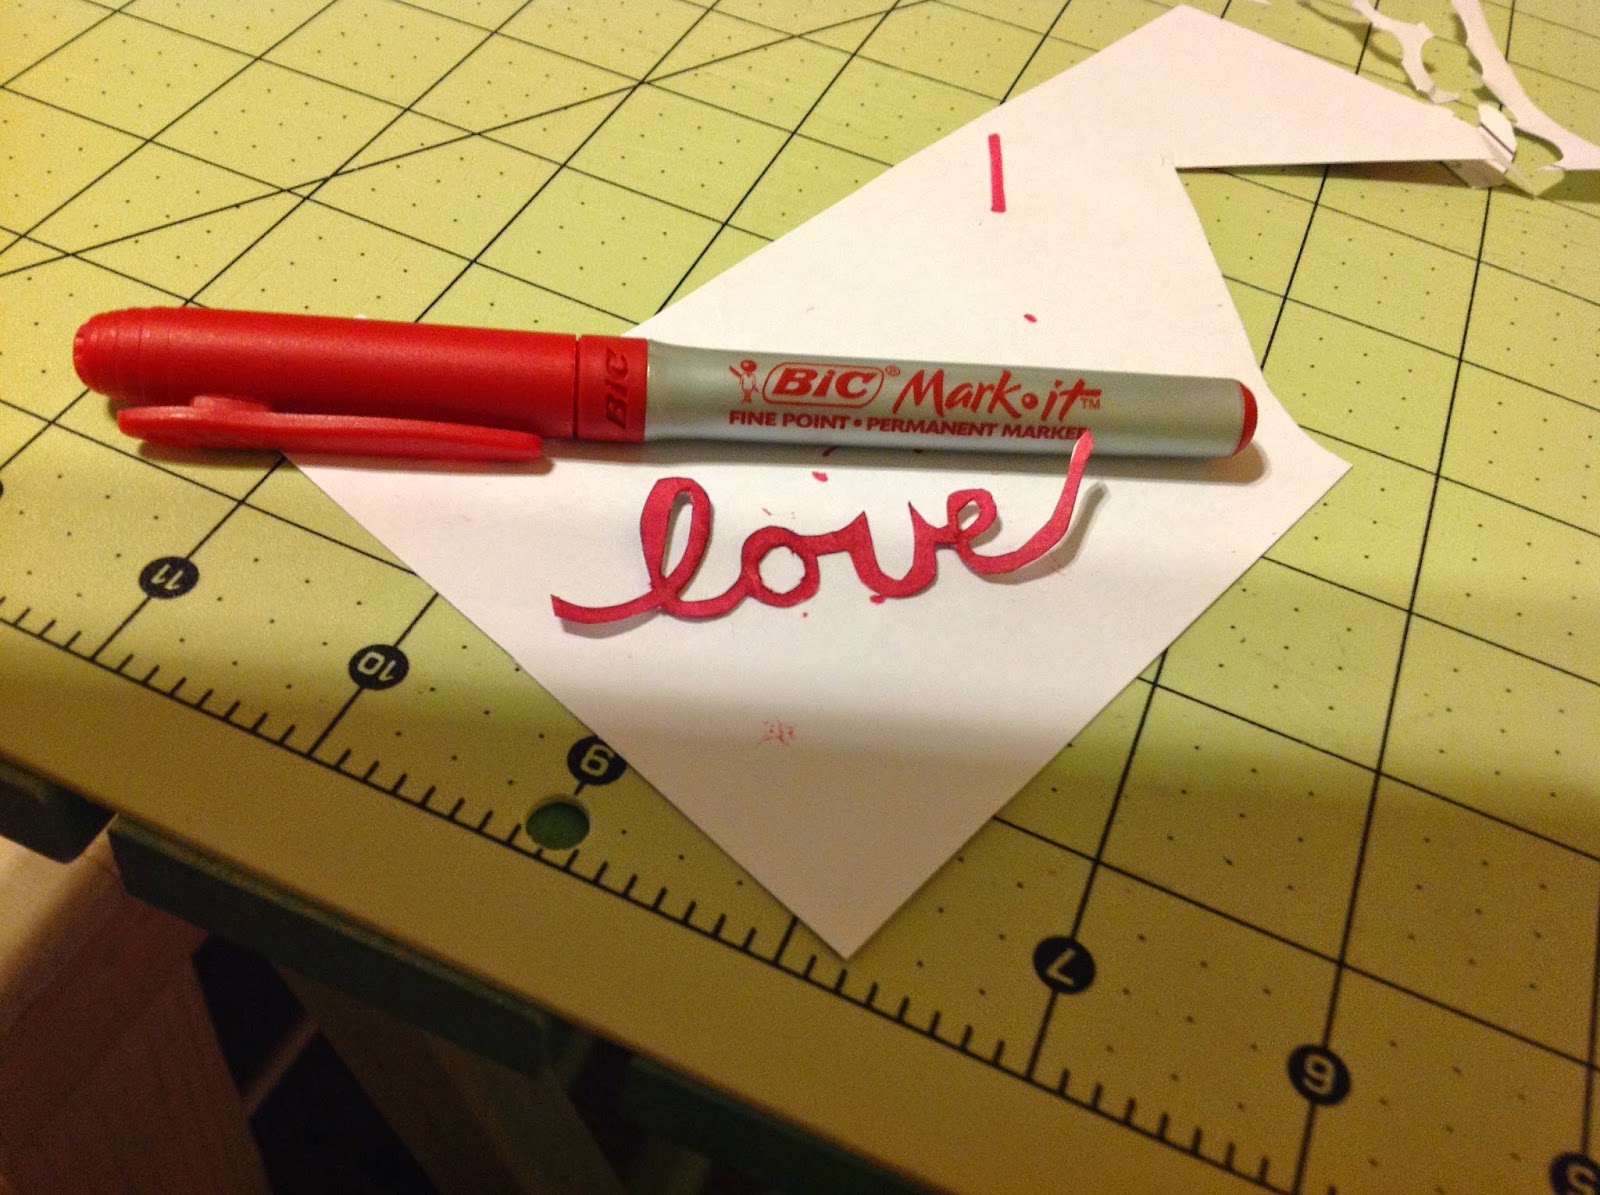
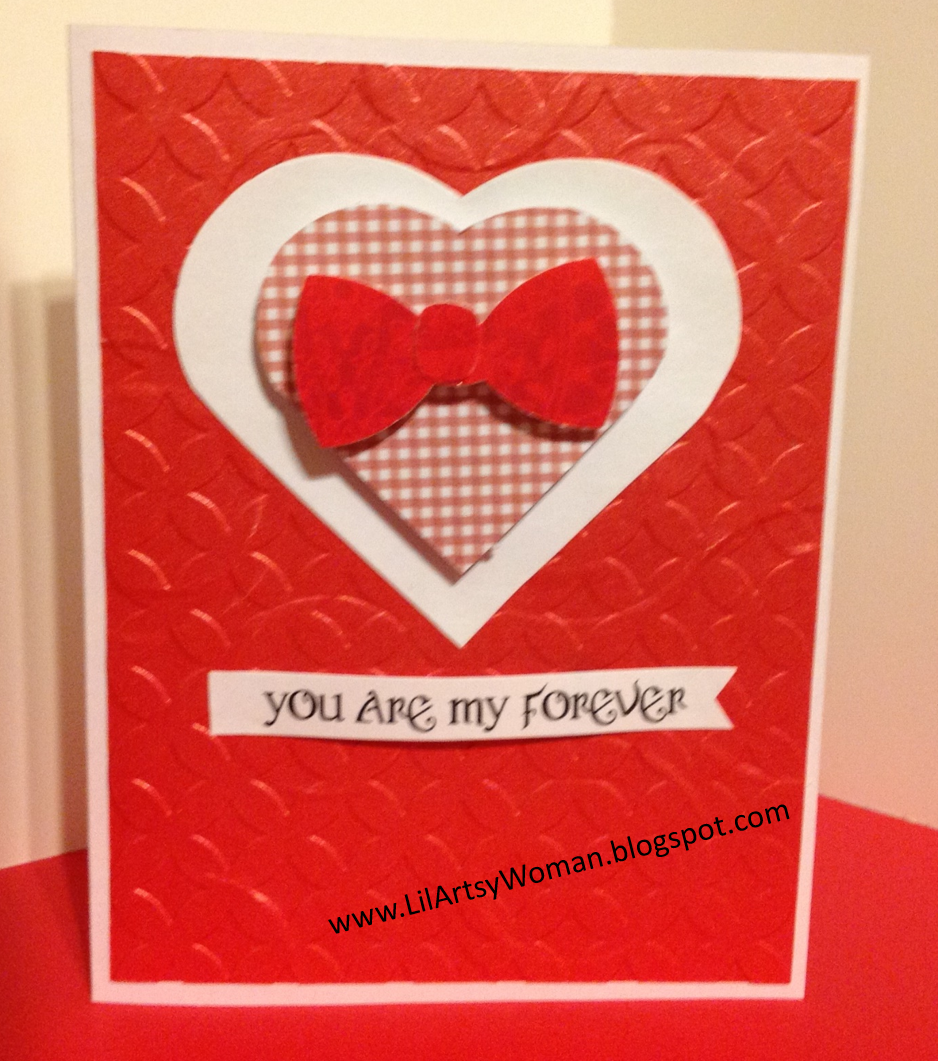
For the second card... a Spellbinders die was used. This time I glued the cut-out to the back of the card layer and then used pop dots to raise it up from the card base. The word "love" was hand drawn, cut out and colored red.


"Click on each picture for a larger view."
These cards will be used for Valentine's Day as well as the following:
Thanks for viewing today. Join, follow or comment!

Love,
Lois
No comments:
Post a Comment