Today, I'm sharing steps on how I made my first explosion box. I've done the card-in-the-box several times and enjoyed the results from it. I have seen the explosion box on Google+ done by several individuals and they were so pretty. I wanted to challenge myself to see if I could do one.
My first one is for a baby shower and I want to share how I did it:


Step One: Here are the supplies that I have gather to do a “baby shower” explosion box card.
Some of the items: 3 sheets of 12 x 12 cardstock ( I've used a light blue, a yellow, and a darker blue); pattern paper; images (paper and or 3D); score board; cutting board; score pal tape; liquid glue


Step 2: We are going to begin by taking our 12 x 12 sheets of cardstock and cutting them down to size: Your first piece (my light blue) which will be the outside of the box is cut down to 9 x 9 inches. The second piece (my yellow) will be cut down to 8 5/8 x 8 5/8 inches. The third piece (my dark blue) which you will see when the box “explode” should be cut down to 8 ¼ x 8 ¼ inches.


Step 3: Using the score board, score the 9 x 9 (light blue) piece at 3 inches on each side ( after the first score at 3 inches, turn your paper and score again at 3 inches, turn and score at 3 inches and one last time, turn and score at 3 inches). Score the 8 5/8 x 8 5/8 piece (my yellow) at 2 7/8 inches on all four sides. Score the 8 ¼ x 8 ¼ piece (my dark blue) at 2 ¾ inches on all four sides.


Step 4: After scoring, cut out each square corner on all four sides (your piece will look like a cross). Do this for the 9 x 9, the 8 5/8 x 8 5/8 and the 8 ¼ x 8 ¼.
 |
| Your pieces will look like this with the corners cut away. |
 |
| After using score tape, your pieces will look like this. |


Step 6: The pattern paper and decorative images were used to decorate the flaps..Measure and cut your decorative paper 1/8 inch smaller than the flap. Since I rounded my corners on the cardstock, I had to do the same thing with the decorative paper. Here is the first page you will see when the box is opened.

 |
| 1st page (my dark blue sheet) is the 1st page you will see when the box "explode" or is opened. |
 |
| The second page of the box (my yellow sheet). What I did to take the picture...use a rubber band to hold the top layer together. You will not be doing this for your project. This was only done so you could see what the second layer looked like. The patten for the bed came from paper is bliss |

 |
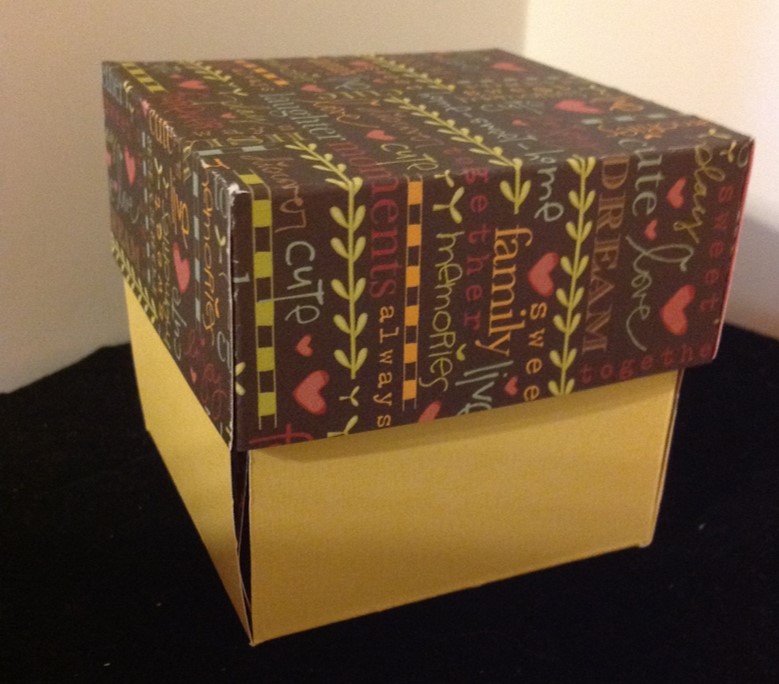
| Here you can see the top decorated with more items. |
 |
| The beginning of another project! |
Sending you a hug and LOVE,
Lois
No comments:
Post a Comment